Dedicated Containers
Run apps from templates or any container image in an isolated container with dedicated CPU, memory and disk.
Dedicated Containers run your app in its own isolated container with dedicated CPU, memory and disk. Each container runs inside a lightweight virtual machine, so it doesn't share a kernel with other customers. Start from a ready-made app template (Node.js, Python, Go, PHP, a static website, MySQL, MariaDB or Redis) or from any public container image.
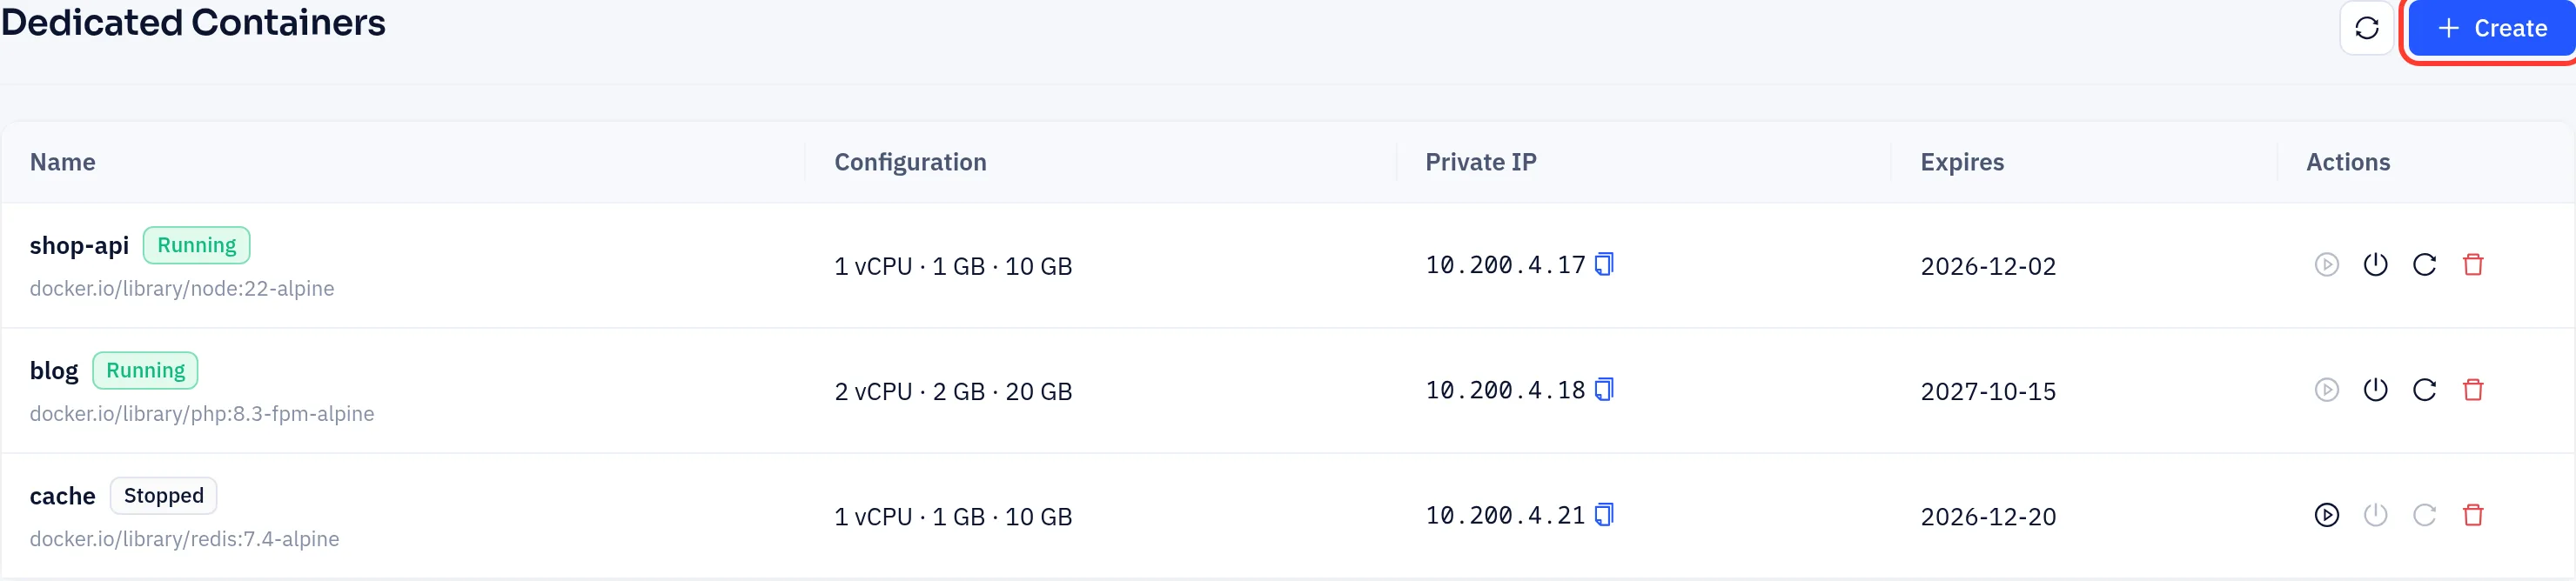
In the left-hand menu of the console, open Dedicated Containers. Click a row to open the container's page.
Plans
At the time of writing the following plans are offered (see the purchase page for current prices):
| Plan | CPU | Memory | Disk |
|---|---|---|---|
| Dedicated Container Starter | 1 vCPU | 1 GB | 10 GB |
| Dedicated Container Pro | 2 vCPU | 2 GB | 20 GB |
| Dedicated Container Enterprise | 4 vCPU | 4 GB | 40 GB |
You can add disk space or change plan later on the container's Configuration tab.
Creating a container
On the Dedicated Containers page click Create.
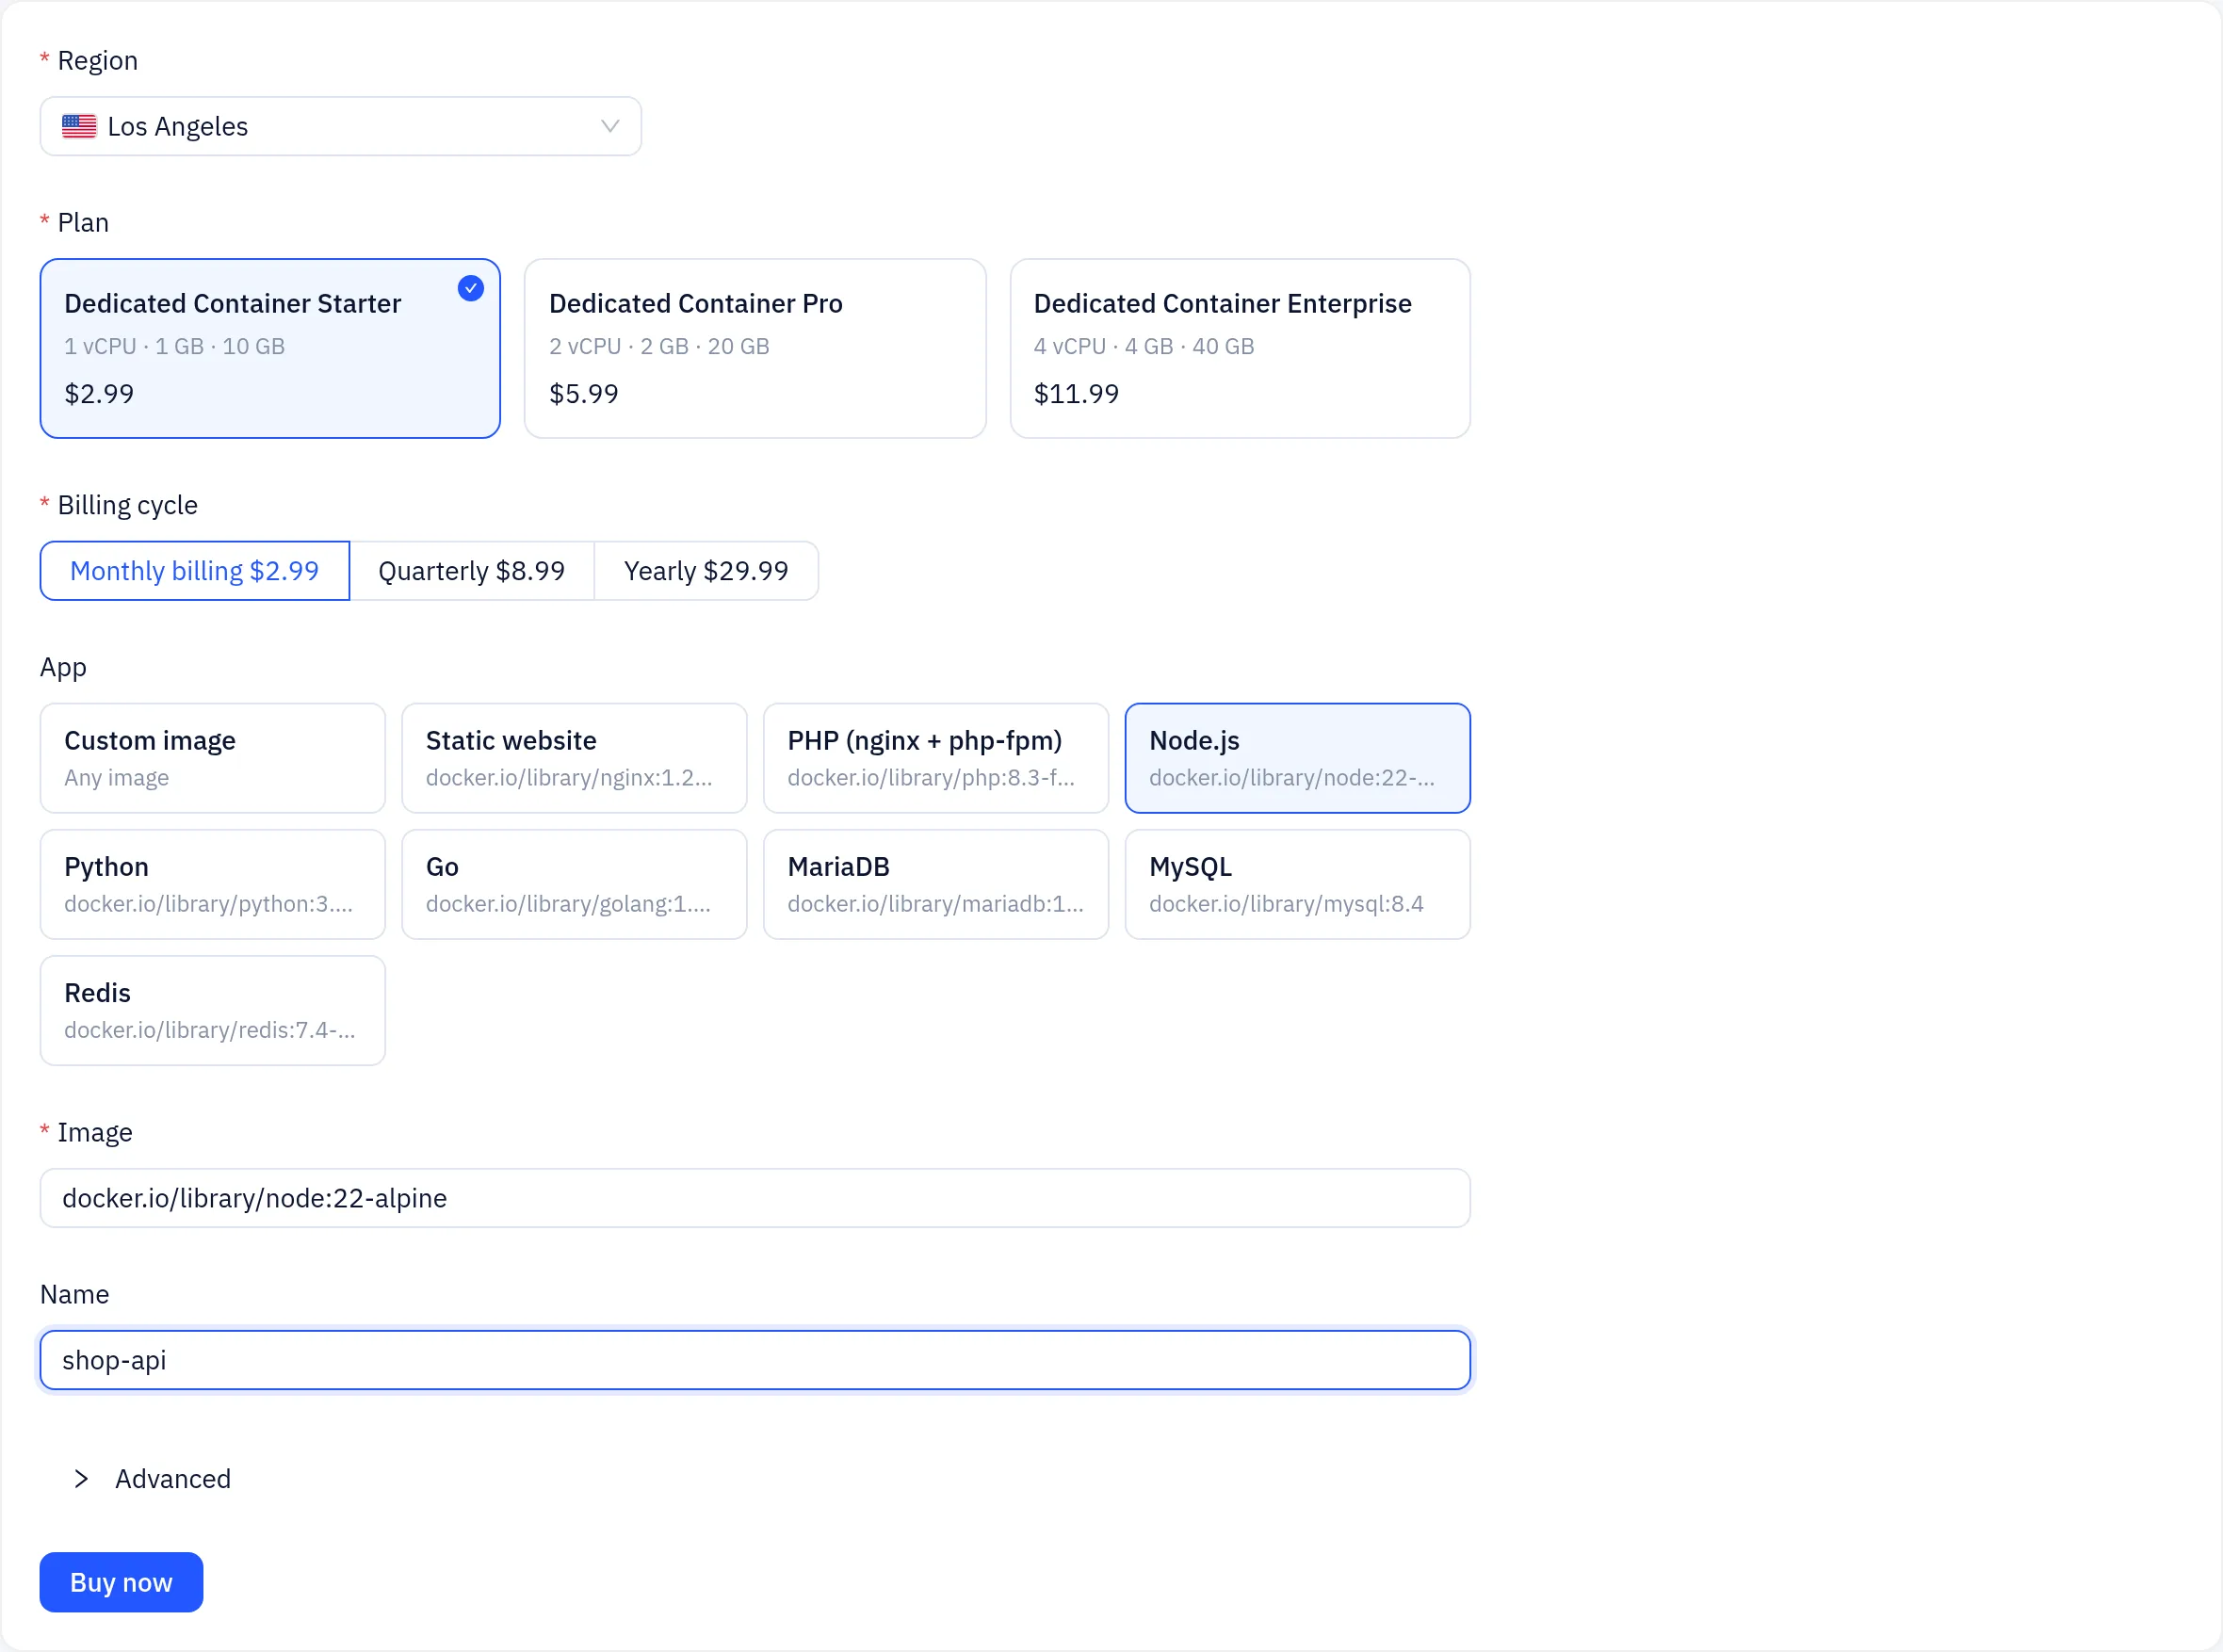
Choose a Region, a Plan and a Billing cycle.
Under App, pick a template, or Custom image to enter any image name (for example
nginx:1.27-alpine). Templates fill in the image name and sensible environment variables. Database templates generate their passwords automatically.Optionally enter a Name. Under Advanced you can set a Start command and Environment variables.
Click Buy now and pay the invoice.
After payment the container is created automatically and shows Running. If the region is briefly out of capacity, the container shows Queued and starts on its own once there is room. Your paid term begins when it starts.
The container page
The buttons at the top Start, Stop, Restart and Delete the container. Below them you see CPU, memory, disk and traffic use. The tabs are:
| Tab | Use |
|---|---|
| Network | Private IP, port mapping, dedicated public IP and security groups |
| App | Environment variables, start command, PHP settings, scheduled tasks, background services, deploy from an archive, processes and logs |
| Terminal | A shell inside the container in your browser |
| File | Browse, upload, edit, compress and extract files |
| Domains | Serve a website from the container on your own domain |
| Configuration | Disk expansion and Change plan |
| Backups | Automatic backups and restore points, when your plan includes them |
Deleting a container permanently erases all of its data. It can't be recovered.
Disk expansion and plan changes
On the Configuration tab:
- Disk expansion: choose how many GB to add and click Expand capacity. The disk grows online without a restart. Disk size can only grow, and you pay pro rata for the rest of the current term.
- Change plan: choose a plan and click Confirm change. An upgrade takes effect right away and you pay the pro-rated difference. A downgrade takes effect at your next renewal.
In this section
- Deploy an app: templates, environment variables, deploying code, domains and port mapping.
- Files and scheduled tasks: the file manager, the terminal, scheduled tasks, background services and backups.